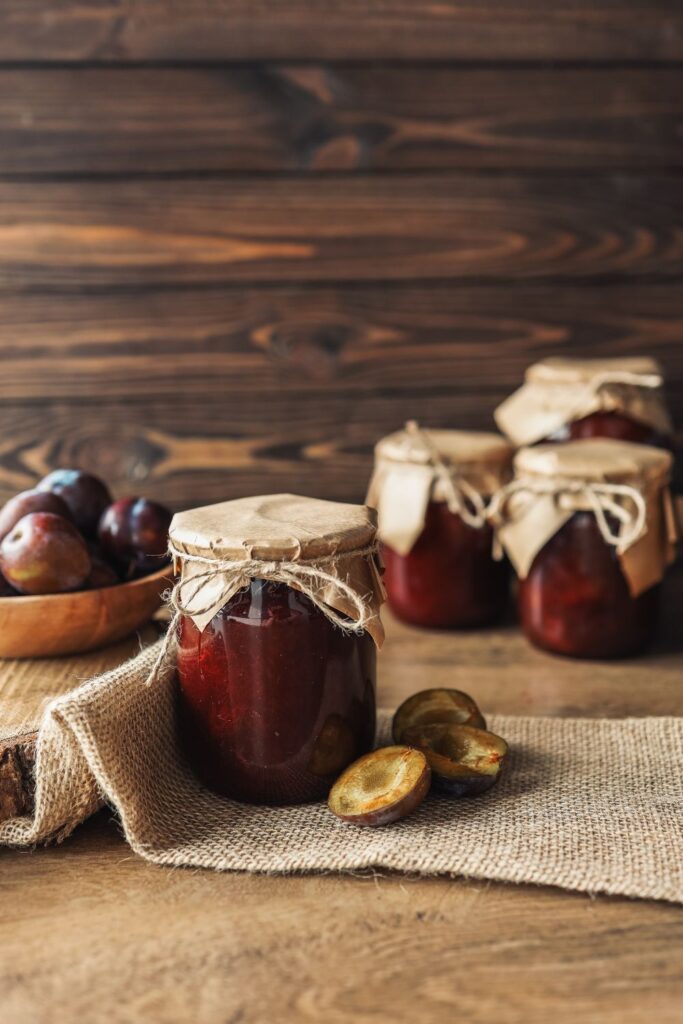
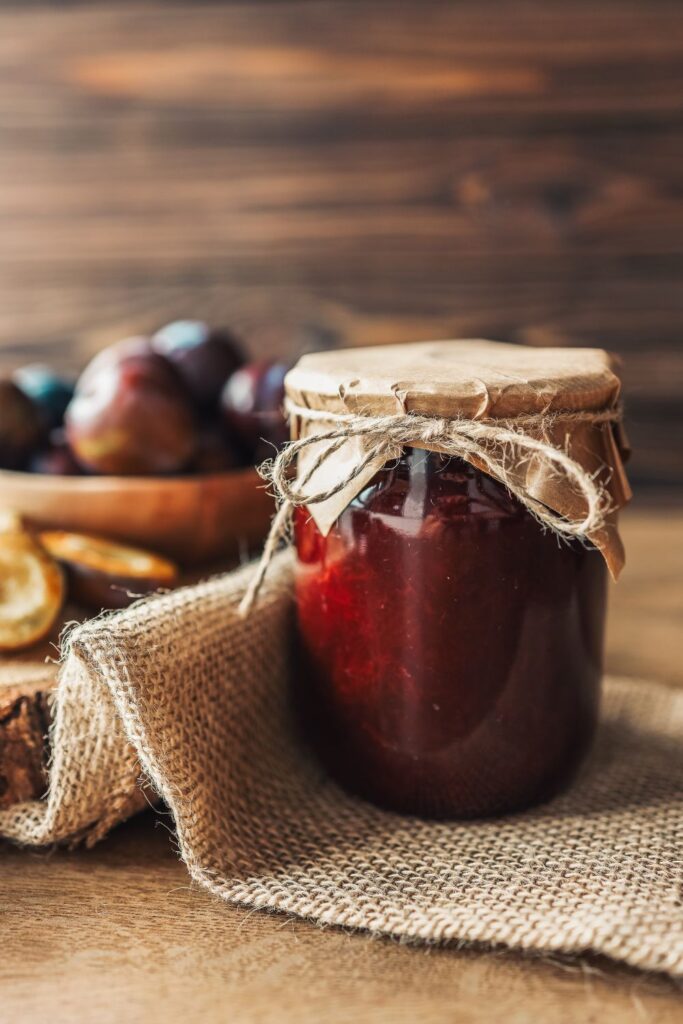
There’s something so comforting about the Jamie Oliver Plum Jam Recipe. With its rich plum flavor, subtle hints of vanilla and cinnamon, and perfectly balanced sweetness, this jam is the kind of thing you want to spread on everything. I made it on a whim after spotting some juicy, late-summer plums at the market, and I couldn’t believe how easy—and delicious—it turned out. (inspired by Jamie Oliver)
Ingredients Needed
- 2.2 lbs (1 kg) plums, halved and pitted
- 2.2 lbs (1 kg) jam sugar (with added pectin)
- 1 vanilla pod, split lengthways (optional)
- 1 cinnamon stick (optional)
How To Make Jamie Oliver Plum Jam Recipe
Sterilize Your Jars First:
Before anything, prep your jars properly to keep your jam safe and shelf-stable. Wash them and pop them into the oven at 100℃/225℉/gas ¼ for about 30 minutes. If they’ve got rubber seals, boil those separately while the jars are heating. Let everything dry thoroughly—moisture is the enemy here!
Get the Fruit Ready:
Wash your plums, then halve and pit them. Place them in a large pan with the jam sugar. If you’re using a vanilla pod or cinnamon stick, add those now. They’ll infuse beautifully as everything cooks.
Mash and Mix:
Use a potato masher to break the fruit down into a rough mash. It’ll look chunky at first, but as the sugar dissolves and it cooks, things will smooth out. The more you mash now, the smoother your final jam will be.
Bring to a Boil:
Put the pan on medium-high heat and bring the mixture to a simmer. Let it cook for around 5 minutes without stirring too much—consistency of heat helps the jam set better. Your kitchen will smell absolutely amazing at this point.
Check for the Set:
Here’s the magic trick: the wrinkle method. Chill a plate in the fridge, then spoon a bit of jam onto it. Wait a few seconds, then gently nudge it with your finger. If it wrinkles up, it’s ready. If not, boil for another few minutes and try again.
Fill the Jars:
Turn off the heat and skim off any foam from the top. While the jars are still warm, ladle the hot jam in, right up to the top. Seal them up tightly, label them, and let them cool completely. You’ll hear the satisfying pop of the lids sealing as they cool!

Why I Love This Recipe
I made this Jamie Oliver Plum Jam on a quiet Sunday morning and it turned out to be the highlight of the week. It was incredibly satisfying to see those simple ingredients transform into something so flavorful and comforting. I gifted a jar to my neighbor and she’s already asking for more—definitely a keeper!
Recipe Tips
- Slightly underripe plums work best: They have more natural pectin and help the jam set properly.
- Don’t skip sterilizing the jars: It’s crucial for safety and storage.
- Add lemon juice if not using jam sugar: Helps the set and balances sweetness.
- Mash thoroughly if you prefer smoother jam: Or leave it a bit chunky for texture.
- Add a splash of brandy at the end: For a grown-up twist!
How To Store This Jamie Oliver Plum Jam Recipe
At Room Temperature
Sealed jars will keep for up to 6 months in a cool, dark place. Always check for spoilage before opening.
In the Fridge
Once opened, keep the jam in the fridge. It will stay fresh for about 3 weeks.
In the Freezer
Transfer to freezer-safe containers and freeze for up to 6 months. Thaw in the fridge overnight before using.
Nutrition Facts (per serving)
- Calories: 50
- Carbs: 13g
- Protein: 0g
- Fat: 0g
- Sugar: 13g
- Fibre: 0g
- Sodium: 0mg
Let’s Answer a Few Questions!
Does this jam need added pectin?
Not necessarily. Slightly underripe plums have enough natural pectin, but jam sugar with pectin guarantees a good set.
Can I use frozen plums?
Totally! Just thaw them fully before starting.
Do I need to peel the plums?
Nope! The skins break down during cooking and actually help the jam set.
What if my jam is too runny?
Reboil for a few more minutes and test again with the wrinkle method.
Can I make it in a slow cooker?
Yes! Cook on high for 2–3 hours, mash, then cook for another hour with the lid ajar.
Try More Recipes:
- Jamie Oliver Fig Jam Recipe
- Jamie Oliver Rhubarb And Ginger Jam Recipe
- Jamie Oliver Greengage Jam Recipe
Jamie Oliver Plum Jam Recipe
Course: Condiment, SidesCuisine: British6
servings15
minutes30
minutes50
kcalSweet, fragrant, and easy to make, this plum jam is a perfect way to preserve seasonal fruit.
Ingredients
2.2 lbs (1 kg) plums, halved and pitted
2.2 lbs (1 kg) jam sugar (with added pectin)
1 vanilla pod, split lengthways (optional)
1 cinnamon stick (optional)
Directions
- Sterilize jars in the oven at 100℃ for 30 minutes. Boil rubber seals if needed.
- In a large pan, combine plums, jam sugar, and optional spices.
- Mash into a rough pulp.
- Bring to a boil and simmer for 5 minutes without over-stirring.
- Test for set using a cold plate and the wrinkle method.
- Skim foam, then fill hot jars with hot jam.
- Seal, label, and cool completely.

